If you live in Boulder, you move. You run the Mesa Trail, scramble at Chautauqua, ski the Front Range, and walk your dog on icy mornings in January. Your feet do a lot of heavy lifting. A proper custom orthotics fitting helps them do it with less pain and better efficiency. If you’re booking an orthotics fitting, here’s a walkthrough of what to expect during your fitting and why it matters.
Step 1. A short conversation that sets the tone
Start with a focused chat about your goals. Maybe plantar fasciitis flared on your long runs. Maybe your arches fatigue on steep hiking days. Maybe ski boots feel fine on day one, then turn into torture by lunch. You should be asked about injuries, training volume, typical shoes, terrain, and work demands. Be honest about what hurts and when. The more specific you are, the better your custom orthotics will match your life.
What to bring:
-
Your most-used shoes. Running, hiking, everyday, and ski boots if relevant.
-
Old inserts if you have them.
-
A list of any past foot or ankle diagnoses.
Step 2. Movement screening and gait analysis
Next comes a head-to-toe look at how you move. Expect balance checks, ankle mobility screens, and a simple squat. Then we watch you walk. If you are a runner, you may be asked to jog or run to have a look at your form. Video helps slow things down so foot strike, tibial rotation, knee tracking, and hip control can be studied. Gait analysis shows how your foot loads in real time. That matters, especially when terrain changes fast. Road to trail to rock garden. Your orthotics need to guide motion without fighting the natural flow.
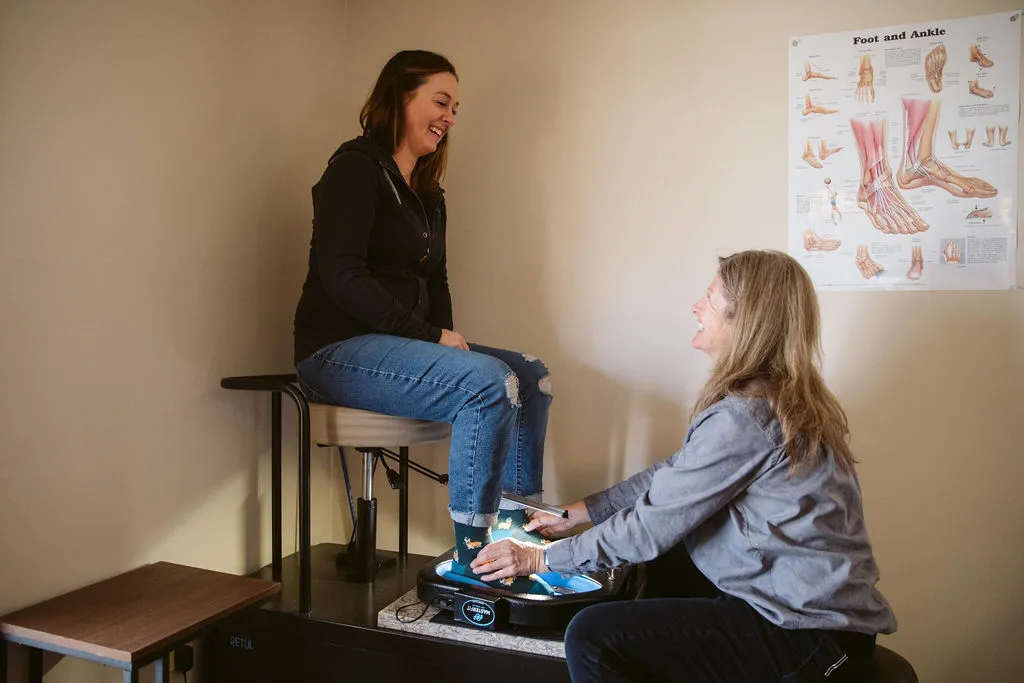
Step 3. Foot measurements and pressure mapping
Arch height, foot length, forefoot and rearfoot alignment, and toe flexibility will be measured. Pressure mapping, when used, shows where your foot spends the most time under load. Think of it as a heat map. If the forefoot lights up on climbs or the heel shows a sharp spike at impact, it impacts how your orthotics will be shaped. These patterns shape the support profile of your custom orthotics.
Step 4. Footwear check. The unsung hero
Shoes and orthotics work together. Your fitter might inspect outsole wear, midsole compression, in-shoe volume, and midfoot stiffness. For running shoes, rocker shape and heel-to-toe drop could be measured. For hiking boots, torsional stability and lacing control are important. For ski boots, shell fit and cuff alignment are important. If the shoe platform fights the insert, you lose comfort and efficiency. Sometimes a small footwear tweak improves everything before the orthotics even arrive.
Step 5. Casting or scanning for a precise fit
This is where “custom” becomes real. An image of your foot can be captured in a neutral position using one of two approaches.
-
3D scan. Some fitters offer a clean and accurate scan. Great when you want a consistent digital model for running, hiking, and trail orthotics.
-
Foam box or plaster casting. Helpful for complex foot shapes, rigid deformities, or when we plan a firmer post under the heel or forefoot.
During capture, your foot may be placed with the subtalar joint in neutral and align the forefoot. You relax while everything is positioned. Small details matter. A few millimeters in arch height, a subtle heel post, or a gentle first ray cut-out, and your foot suddenly loads more evenly.
Step 6. Design choices for different activities
This is where your lifestyle guides the build.
Custom running orthotics. The profile should be supportive yet forgiving. You want guidance, not a brick under the arch. The heel is aligned, gently post if needed, and materials used that absorb impact without feeling mushy. Runners on paved paths and gravel routes benefit from a top cover that handles sweat and dries fast.
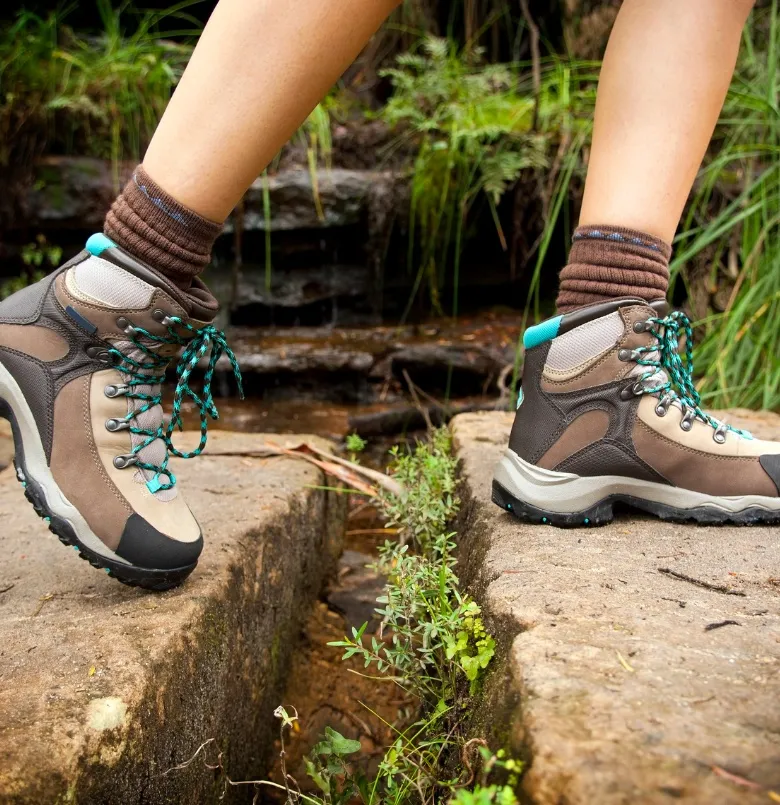
Hiking orthotics. Long days on uneven terrain call for more midfoot stability and a durable top cover. We often add a met pad or forefoot offload for steep climbs. A slightly firmer shell helps when you carry a pack. Trail orthotics for technical routes use a grippy top cover so your foot stays planted in the boot.
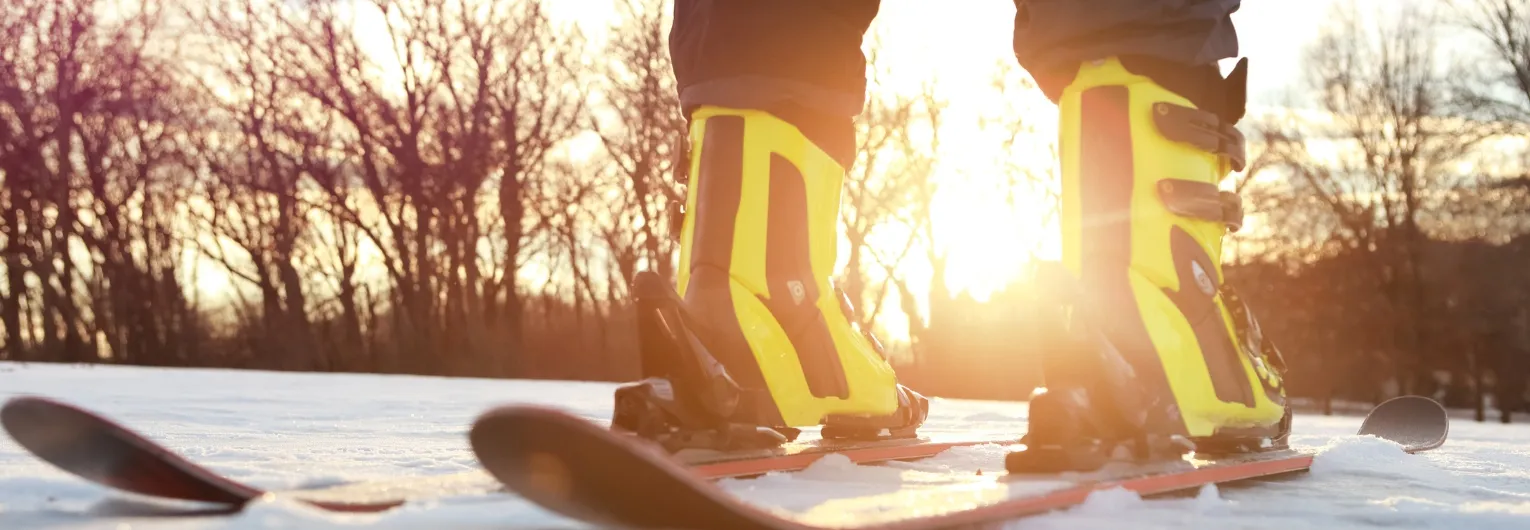
Skiing orthotics. Ski boots are a different world. The goal is precise alignment and consistent pressure distribution inside a rigid shell. The goal is to control the heel, support the arch, and fine-tune forefoot space so your toes stay warm and relaxed. Small heel lifts or canting adjustments pair with the insert to keep your knees tracking cleanly over the skis.
Step 7. Fabrication timeline and what gets built
Your scan or cast goes to fabrication. The lab shapes a shell to the model of your foot, adds posts if prescribed, then builds the cushion and top cover. Materials vary. Common shells include semi-rigid composites for runners who need snap. Hikers often get a sturdier base for long mileage. Skiers get precise shaping for a locked-in feel. Top covers range from antimicrobial options to leather for durability. If you split your time across sports, we typically discuss either one versatile pair or separate activity-specific builds – though your experience may vary.
Step 8. Fitting and micro-adjustments
When the custom orthotics return, they get fit in your shoes or boots. Expect fine tuning. A small heel cup trim, a gentle arch relief, or a met pad shift can turn good into great. Your stride may get checked again with the new orthotics in place. For brought ski boots, we recommend to remount footbeds, re-buckle, and a stance test. This is a collaborative step. Your feedback shapes the final polish.
Step 9. Break-in plan that respects your body
Your feet and lower legs adapt to new mechanics. Give them a short ramp.
-
Day 1 to 3. Wear 1 to 2 hours in low-stress settings.
-
Day 4 to 7. Bump to half-day use. Short run or hike if you feel good.
-
Week 2. Full-day use. Resume normal training. Ease off if hotspots appear.
Mild soreness in the arches or calves is common during the first week. Sharp pain is not. If something feels off, stop and bring the orthotics back in to your fitter for an adjustment.
Step 10. Follow-up and lifespan
It’s a good idea to schedule a follow up check after two to four weeks. Training loads change with seasons, and your insert should match that rhythm. Running volume spikes in spring. Hiking peaks in summer and fall. Skiing dominates winter. You fitter can tune posting, add forefoot relief, or change top covers as needed. With normal use, custom orthotics often last one to three years. Runners who pile on miles may replace top covers sooner. Shells tend to outlast covers. Bring them in if your shoes feel different or if you notice new hotspots.
Practical tips for Boulder terrain and Colorado weather
-
Altitude and dryness. Hydrate and keep top covers clean. Dry inserts at room temperature. Skip direct heat.
-
Trail grit. Grit eats foam. Knock dirt out of shoes after technical runs. Use gaiters for sandy days on Bear Peak.
-
Winter mix. For icy sidewalks, pair orthotics with a stable outsole. A firmer base keeps edges from folding on slick surfaces.
-
Ski days. Warm the inserts before you put on boots. Warm material molds to your foot’s contour faster and improves blood flow.
Cost, insurance, and value of Custom Orthotics
Pricing reflects the evaluation, casting or scanning, lab materials, and follow-up care. Coverage varies by plan. Keep receipts and documentation. If you track health expenses, note the date of evaluation and the diagnosis your clinician used for medical necessity. When you compare cost against the miles you move each year, the per-use value adds up fast. Less pain, better alignment, and fewer missed days matter more than any single gear upgrade.
Questions the we hear a lot about Orthotics Fittings
Do custom orthotics change my stride too much. No. The goal is efficient alignment. We guide motion and reduce stress points. You still move like you.
Can I use one pair for running, hiking, and everyday wear. Sometimes. If your mechanics are consistent across activities, one pair works. If your trail load or ski stance demands more structure, separate pairs feel better and last longer.
What if I already wear stability shoes. That is fine. We match the insert to the shoe. Stability shoes plus a well-tuned insert often feel more stable and less intrusive than the shoe alone.
How soon do I feel a difference. Many people notice relief within the first week. Performance gains show up as smoother miles and fewer flare-ups over a training cycle.
Getting the most out of your custom orthotics
Treat custom orthotics like a training partner. They help you move the way your body prefers. Keep them clean. Rotate shoes. Check in when your goals change or when the seasons shift from trail to ski. If you care for your feet, the miles around Boulder feel easier and a lot more fun